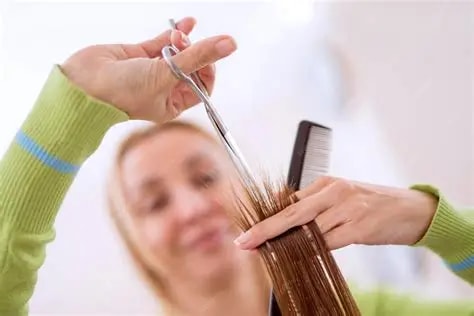
After 15 years of cutting hair and training thousands of stylists, I've learned that precision cutting isn't just about following a technique—it's about understanding the "why" behind every cut. When you master these five essential techniques, you don't just improve your technical skills; you transform your entire approach to hairstyling.
Why Precision Matters More Than Ever
In today's competitive beauty industry, clients are more educated than ever. They come in with reference photos, specific expectations, and a keen eye for detail. The difference between a client who returns every six weeks and one who never comes back often comes down to precision.
Precision cutting means:
- Clean, intentional lines that grow out beautifully
- Consistent results that build client trust
- Faster service times as your confidence grows
- The ability to correct and customize any cut
- Professional results that justify premium pricing
Technique #1: The Foundation Cut - Understanding Elevation
Elevation is the cornerstone of all cutting techniques, yet it's often the most misunderstood. Simply put, elevation is the angle at which you hold the hair away from the head before cutting.
The Three Key Elevations:
Zero Degree (0°): Hair is cut parallel to the head, creating weight and a solid, blunt line. This is your go-to for bob cuts, one-length styles, and building a strong perimeter. When executed perfectly, a zero-degree cut creates that coveted "hair curtain" effect that swings with movement.
Ninety Degree (90°): Hair is pulled straight out from the head, creating uniform layers throughout. This is the foundation of most layered cuts and creates the most versatility. Master this elevation, and you can create everything from subtle movement to dramatic layers.
One Hundred Eighty Degree (180°): Hair is elevated straight up, creating maximum layering and removing weight from the interior. This technique is essential for creating volume, especially in fine or flat hair.
Pro Tip:
The magic happens in the in-between angles. A 45-degree elevation creates gradual layering perfect for long, flowing styles. Experiment with angles between 90 and 180 degrees to create custom weight distribution for each client's unique needs.
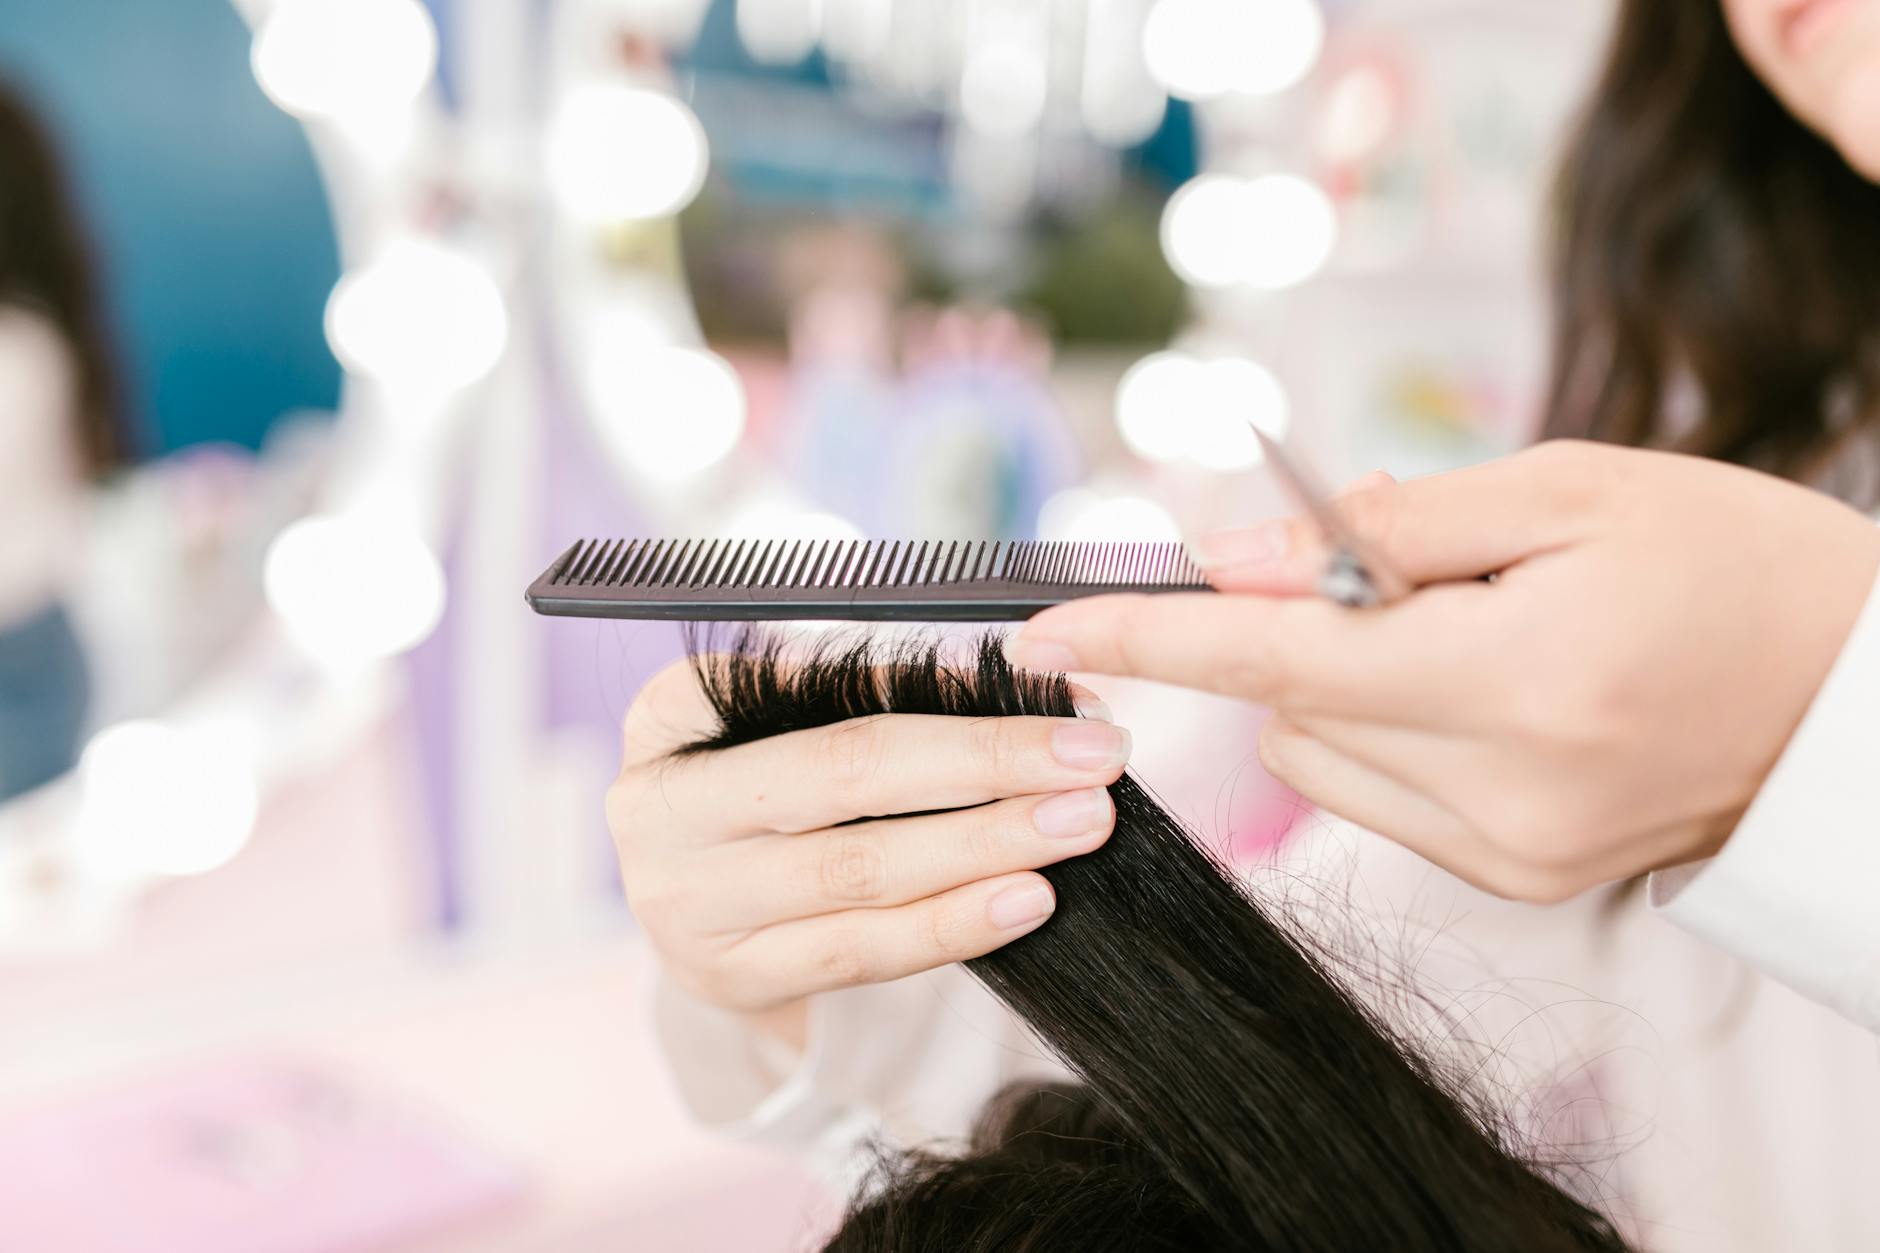
Technique #2: Sectioning with Purpose
I tell my students: "Show me your sections, and I'll tell you the quality of your cut." Proper sectioning is the roadmap that ensures every strand is cut with intention.
The Seven-Section Method:
This is the foundation I teach in all my cutting programs:
- Top Section: From the apex (high point of the head) forward to the hairline, and side to side from the recession areas. This is your control section for fringe and front layers.
- Side Sections (2): From the top section parting down to the ear, ending at the nape. These sections control face-framing and side volume.
- Crown Section: From the apex back to the occipital bone. This is crucial for creating proper volume and shape in the back.
- Nape Sections (3): Divided into left, center, and right. These create your perimeter and weight line.
Why This Matters:
Clean sections mean:
- No missed hair or uneven lengths
- Consistent tension throughout the cut
- The ability to return to any section for refinement
- Faster cutting with better results
Technique #3: Mastering Your Guide
Your guide is your truth. It's the first section you cut that determines the length and angle for all subsequent sections. There are three types of guides every stylist must master:
Stationary Guide:
You establish one guide and bring all subsequent sections to it. This creates graduation and is perfect for bob cuts, A-line styles, and any cut where you want to build weight. The key is maintaining consistent tension and elevation as you bring hair to your guide.
Traveling Guide:
Each section becomes the guide for the next, creating uniform layers. This is your technique for creating consistent layering throughout the head. The most common mistake? Losing track of your guide or cutting it accidentally. Always maintain a clear visual of your guide hair.
Combination Guides:
The most advanced technique combines both methods. For example, you might use a stationary guide for the perimeter and a traveling guide for the interior layers. This gives you maximum control and customization.
Katie's Golden Rule:
"Never cut your guide." This seems obvious, but in the flow of cutting, it's easy to lose track. I teach my students to always isolate their guide with a different finger position or to keep it slightly separated from the section they're cutting.
Technique #4: Tension Control - The Secret Weapon
Tension is the unsung hero of precision cutting. The amount of tension you apply while cutting dramatically affects the final result, yet it's rarely discussed in basic training.
Understanding Tension Effects:
High Tension: Creates shorter, tighter results. When you release the hair, it will appear longer than where you cut it. This is ideal for creating lift and removing weight. Use high tension on fine hair to avoid over-cutting.
Medium Tension: Your standard tension for most cutting. Provides control without dramatically altering the length. This is what you'll use 70% of the time.
Low Tension: Creates longer, softer results. Perfect for cutting curly or textured hair, where you need to account for shrinkage. Also ideal for creating soft, blended edges.
The Tension Test:
Here's an exercise I do with every new student: Cut the same length section of hair three times on a mannequin—once with high tension, once with medium, and once with low. When you compare the dried results, you'll see dramatic differences in length and weight. This visual demonstration changes how stylists approach every cut.
Adapting Tension to Hair Type:
- Fine Hair: Use medium to high tension to avoid over-cutting
- Thick Hair: Vary tension to create internal texture and remove bulk
- Curly Hair: Always use low tension and cut longer than you think
- Damaged Hair: Use gentle, consistent tension to prevent breakage
Technique #5: Point Cutting and Texturizing
This is where artistry meets technique. Point cutting and texturizing transform a good cut into a great one by creating movement, softness, and personalization.
Point Cutting Fundamentals:
Point cutting means cutting into the hair with the tips of your shears at an angle, rather than cutting straight across. This technique:
- Softens hard lines and creates texture
- Removes weight without changing length
- Creates seamless blending between sections
- Adds movement and reduces bulk
The Right Depth:
The depth of your point cutting determines the effect:
- Shallow (1/8 to 1/4 inch): Subtle softening, perfect for perimeters and face-framing
- Medium (1/4 to 1/2 inch): Noticeable texture and movement
- Deep (1/2 to 1 inch): Dramatic texture, use sparingly and intentionally
Texturizing Techniques:
Slide Cutting: Closing the shears as you slide down the hair shaft. This removes weight while maintaining length. Perfect for thick hair that needs internal lightening without losing length.
Twist Cutting: Twisting small sections and point cutting into the twist. Creates natural, piece-y texture. This is my secret weapon for creating that "effortless" look clients love.
Channel Cutting: Cutting into the hair at various depths to create channels of texture. Advanced technique that creates dramatic movement.
When to Texturize:
Always complete your solid form first, then add texture. Think of it like sculpting: you create the shape first, then refine the details. Never texturize as you build your cut—it makes it impossible to maintain consistent guides and can lead to unpredictable results.
Putting It All Together: The Precision Cutting Workflow
Now that you understand the five essential techniques, here's how to integrate them into every cut:
- Consultation: Understand the desired shape, length, and texture
- Section: Create clean, purposeful sections based on your cutting plan
- Establish Your Guide: Choose stationary, traveling, or combination
- Cut the Form: Use appropriate elevation and tension for the desired shape
- Cross-Check: Take sections in the opposite direction to ensure consistency
- Refine: Add texture and personalization through point cutting and texturizing
- Detail: Perfect the perimeter and face-framing areas
Common Precision Cutting Mistakes (And How to Avoid Them)
Mistake #1: Inconsistent Sectioning
Solution: Take your time with sections. It's better to spend an extra two minutes on clean sections than to spend 20 minutes trying to fix an uneven cut.
Mistake #2: Cutting Too Much Too Fast
Solution: Follow the "less is more" principle. You can always cut more, but you can't put hair back. Take smaller sections and make multiple passes if needed.
Mistake #3: Ignoring Head Shape
Solution: Every head is different. Feel the bone structure before you cut. Adjust your elevations and angles to complement or correct the natural head shape.
Mistake #4: Forgetting to Cross-Check
Solution: Always cross-check your work. Take sections perpendicular to your original cutting pattern to catch any inconsistencies before the client sees them.
Mistake #5: Over-Texturizing
Solution: Start with less texture than you think you need. You can always add more, but over-texturized hair looks thin and damaged.
Practice Makes Precision
Here's the truth: reading about these techniques is just the beginning. Precision cutting is a skill that develops through consistent, mindful practice. I recommend:
- Weekly Mannequin Practice: Dedicate 30 minutes each week to practicing one specific technique
- Video Your Work: Record yourself cutting to identify areas for improvement
- Find a Cutting Buddy: Practice on each other and provide constructive feedback
- Take Before and After Photos: Document your progress and learn from each cut
- Invest in Education: Attend workshops, take classes, and never stop learning
Your Next Steps
Mastering precision cutting is a journey, not a destination. These five techniques form the foundation, but there's always more to learn, refine, and perfect. The stylists who commit to continuous improvement are the ones who build thriving careers and loyal client bases.
In my Cutting Program at The Kirby Method, we dive deep into each of these techniques with hands-on practice, personalized feedback, and real-world application. We don't just teach you what to do—we teach you why, so you can adapt these techniques to any client, any hair type, any style.
Remember: precision isn't about perfection. It's about intention, consistency, and the confidence to create beautiful, wearable haircuts that make your clients feel amazing.
Ready to Master These Techniques?
Join our Cutting Program and learn precision cutting from industry experts who are passionate about your success.
Enroll in Cutting Program